

Becoming a Centaur
[Note that Jon Speelman also looks at the content of the article in video format, here embedded at the end of the article.]
I’m misquoting Animal Farm because, in our case, it really is true. Analysis with the help of computers – becoming a “centaur” – is enormously helpful both in terms of speed and accuracy. In addition, while analysing positions as a second, it would have taken ages to realise that there was a zugzwang, without looking at the machine’s evaluation and realising what was going on.
I start with a position left over from last month’s column about the possible butterfly effects – i.e. small differences to the evaluation of positions. It was shown to me by Luke McShane.
Here Svidler played 61.Kb6 and, after due reflection, Lobron resigned. This was at the Yerevan Olympiad in 1996, so they surely weren’t about to adjourn, but Black realised that it was “hopeless” and so surrendered.
Calculation is at the heart of practical chess. Every chess concept builds on proper calculation technique. Therefore, all chess players should continuosly train the fundamental techniques, concepts and patterns this course will present. The goal isn’t only to teach you to calculate, but to give you the tools and insights to keep improving long after the final lesson.
Free sample video: Introduction
Free sample video: Quiet Moves
It was very early to do so, and actually this is something that Svidler himself is known sometimes to do… And while “very clever” – you’re shown he has calculated accurately and understand that there is no escape – it was also brilliantly foolish, since in fact the position is a draw! Two questions then. Firstly, how can Black defend himself after 61.Kb6? And secondly, why is the position entirely different if the pawn is on c2 rather than c3?
As always, you can find the answer in the PGN.
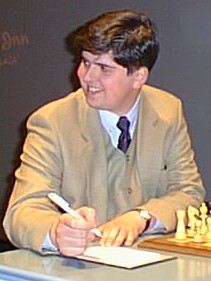
Peter Svidler at the 1998 Dortmund Chess Festival | Photo: Gerhard Hund
And we move on to a couple of positions from the recent Grand Chess Tour rapidplay tournament in Zagreb.
Here Firouzja decided on 30.h3 and later won. I wondered about 30.Qh6 Re1 and found a good try which actually doesn’t work, though Black needs to play the right defence.
Firstly, can you find this? And then – it will be obvious from the next diagram – you will have a very interesting calculation problem which, frankly, I got nowhere near to solving until I transformed myself into a centaur and asked its sublime and glorious majesty for its opinion.
This arises after 30.Qh6 Re1 31.Ne4 Rxe1+ 32.Kxf1 Qe5? (32…g5! defends successfully). So the question is, can you see what White does next and work it out as far as possible before you defer to the monsters?
Looking for an opening that gets your opponents thinking on move one? Grandmaster Andy Woodward has relied on 1.b3 for years in blitz and bullet, using it to defeat strong masters and grandmasters who underestimated its hidden venom. While many players dismiss the opening as harmless, they often find themselves caught in unfamiliar positions, tactical traps, and uncomfortable middlegames. This compact course is designed specifically for practical play. Instead of overwhelming you with endless theory, it focuses on the critical lines, typical plans, and recurring tactical ideas that matter most when the clock is ticking.
Free video sample: Introduction
Free video sample: King’s Indian Setup
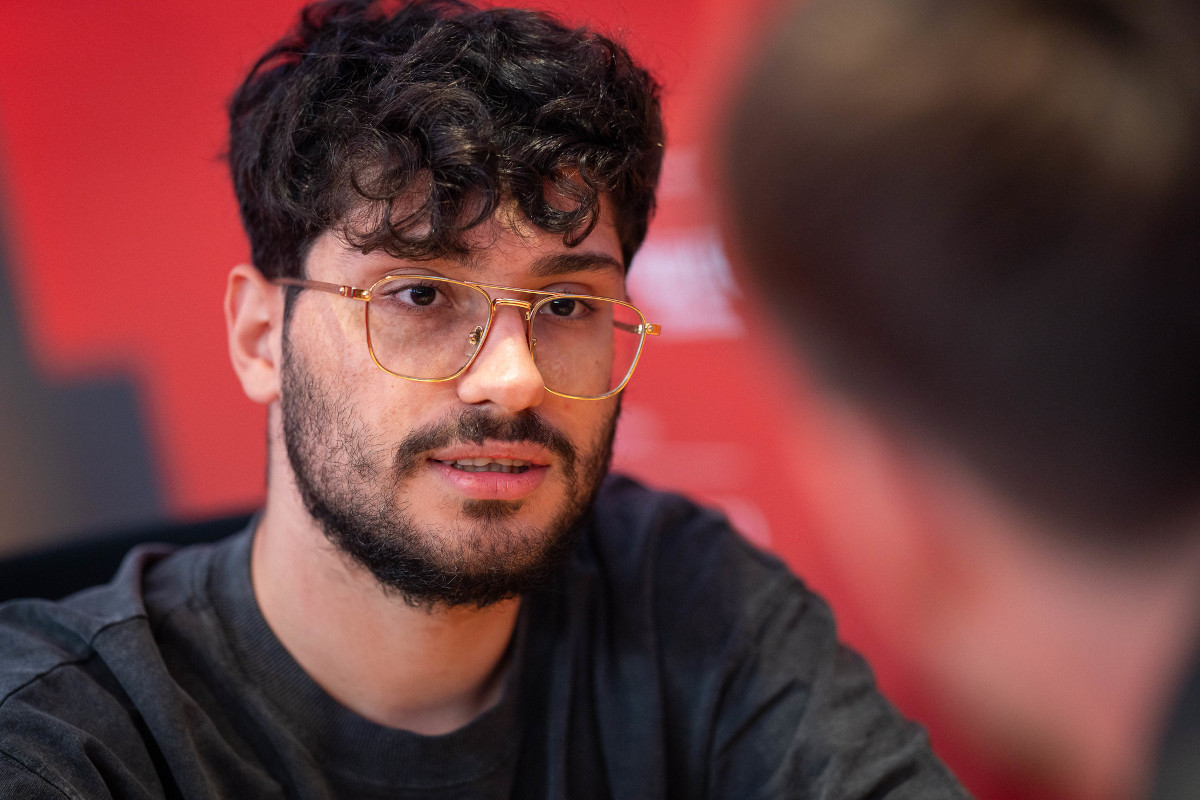
Alireza Firouzja at the GCT Super Rapid & Blitz Croatia | Photo: Lennart Ootes
The line is not so difficult though, actually, I didn’t even initially see how to continue beyond giving perpetual check. But once you reach the ending, then there is a very obvious white move which turns out to run foul of that famous German car manufacturer Volkswagen (as we linguistically challenged Brits sometimes refer jocularly to zugzwang), and White has to reach the said zugzwang with Black to move.
This is very near to the end of their draw in the rapidplay. Obviously, with the kingside secure, Black is drawing easily since he simply has to put the king on b7 when White’s goes towards the kingside and defend himself with the bishop on g4.
But I wondered whether it would still be a draw without the h5-pawn. This seemed quite likely because White’s only winning attempt would be to sacrifice with g4 before moving his king over (otherwise …f5 and …Bg4 would be a perfectly adequate defence against White’s f and g-pawns). While the white king was on its journey, I imagined that Black, having given up his bishop for the b-pawn, would have time to get his king over to attack White’s f-pawn after deflecting the enemy bishop with his new passed g-pawn and draw.
But, in fact, after the tablebase (which kicks in as soon as White has sacrificed the g-pawn and so there are just seven units left) informed me, it is winning, and I looked for a little while I realised that it’s almost trivial as long as you put the bishop on the right square before playing g4. Can you perhaps do better than me and find out the square?
As a final question, I haven’t annotated the game Keymer v. Deac in any detail, but did look at this position, which it appeared might be critical. Can you find the best move for White?
Select an entry from the list to switch between games
Bent Larsen (1935–2010) was the greatest chess player in Danish history, and for a time, the second-strongest player in the Western world behind Bobby Fischer. Between 1954 and 1971, he won the Danish Championship six times, and achieved numerous international tournament victories throughout his career.
Free video sample: Introduction to Bent Larsen by Peter Heine Nielsen
Free video sample: Introduction to the Opening Section